Remove VPN Software Before Upgrading to Windows 10
Being that I spend the majority of my days in front of a PC I'm genuinely excited to start using Windows 10. I jumped on board installing the upgrade yesterday. Unfortunately tomorrow will be my first day of using it due to a mis-step on my part.
If you use any VPN clients (I had 4 installed to cover the variations in networks I work with at my day job) you are best off uninstalling them before making the jump to Windows 10. Most VPN clients adjust network settings or create their own network interface when you install them on Windows. Unfortunately you may get stuck in the same situation that I did if you upgrade to Windows 10 before removing (or ((eventually)) updating) the VPN software where you can't remove it once you're on Windows 10. For me the issue was that my network interfaces weren't present in the network settings of Control Panel even though they were registered with proper drivers in Device Manager. After screwing with the registry (and remembering why I prefer OS X) a colleague pointed out that the VPN software was the most likely culprit. If you're already in the same boat I was, read on for the next steps to get things fixed up and get your Windows 10 fix.
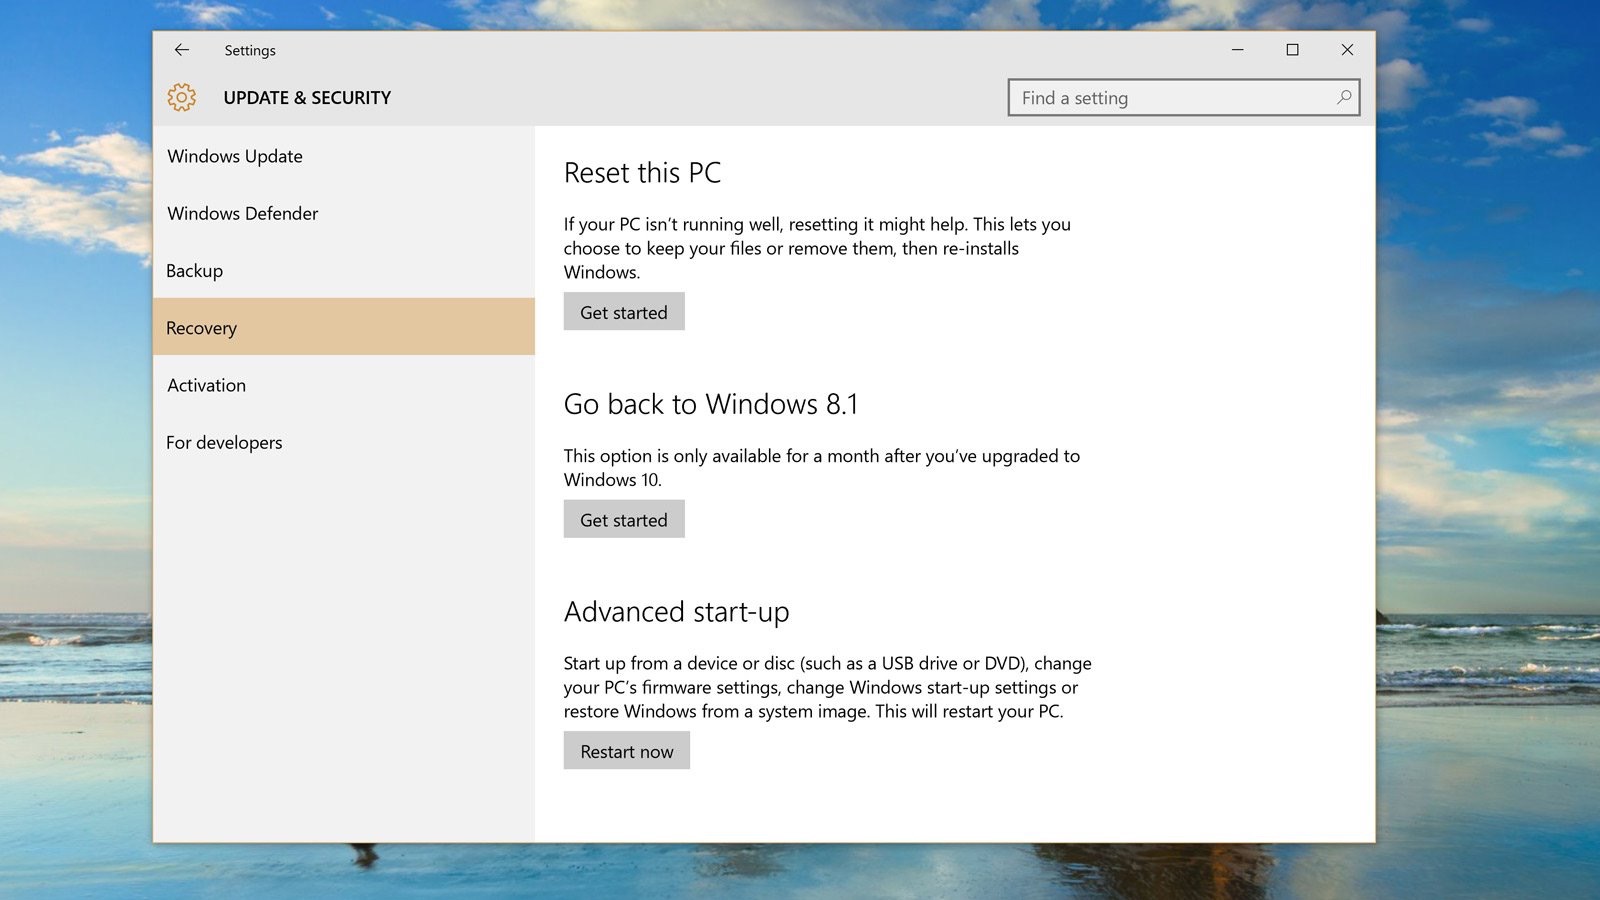
Microsoft has implemented a really handy function in Windows 10 that allows you to roll back to the previous version of Windows you had installed. The main caveats of this function are that you have to use it within 30 days of performing your upgrade and that you'll lose any system changes you've made in Windows 10 since upgrading. To roll back, just follow the steps below.
 Open the Start menu and click settings
 Next, click Update & Security.
 Click Get Started under the Go back to Windows 8.1/Windows 7 option.
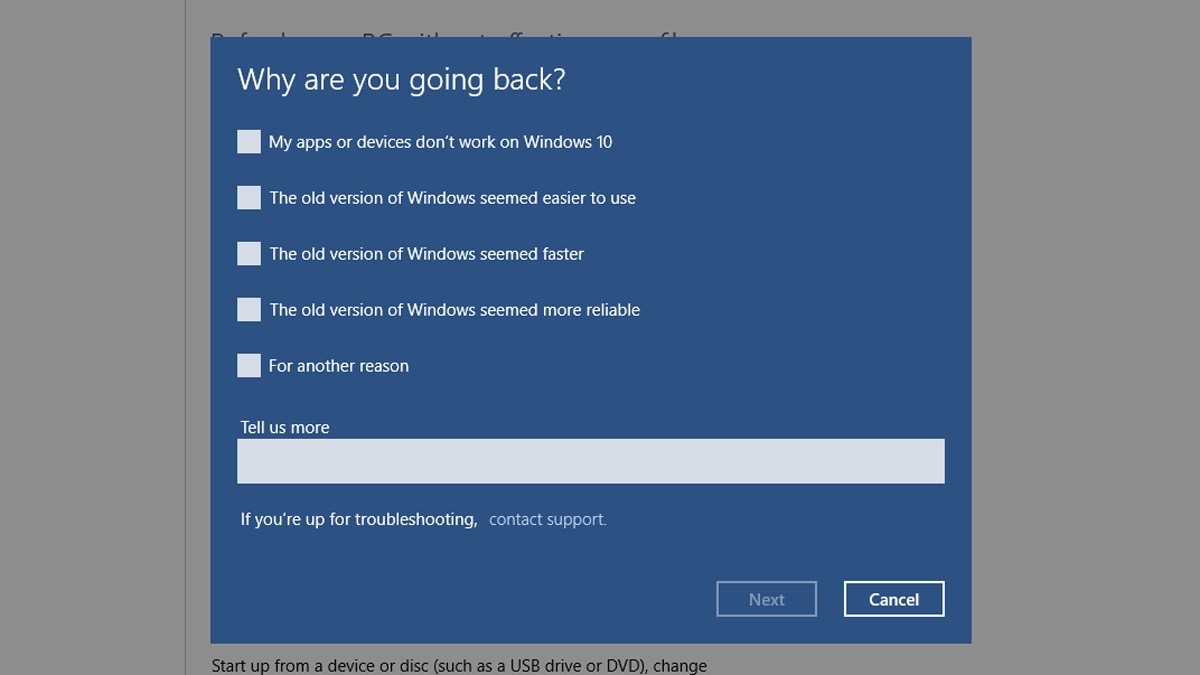
 Provide feedback to Microsoft for why your rolling back and click Next.
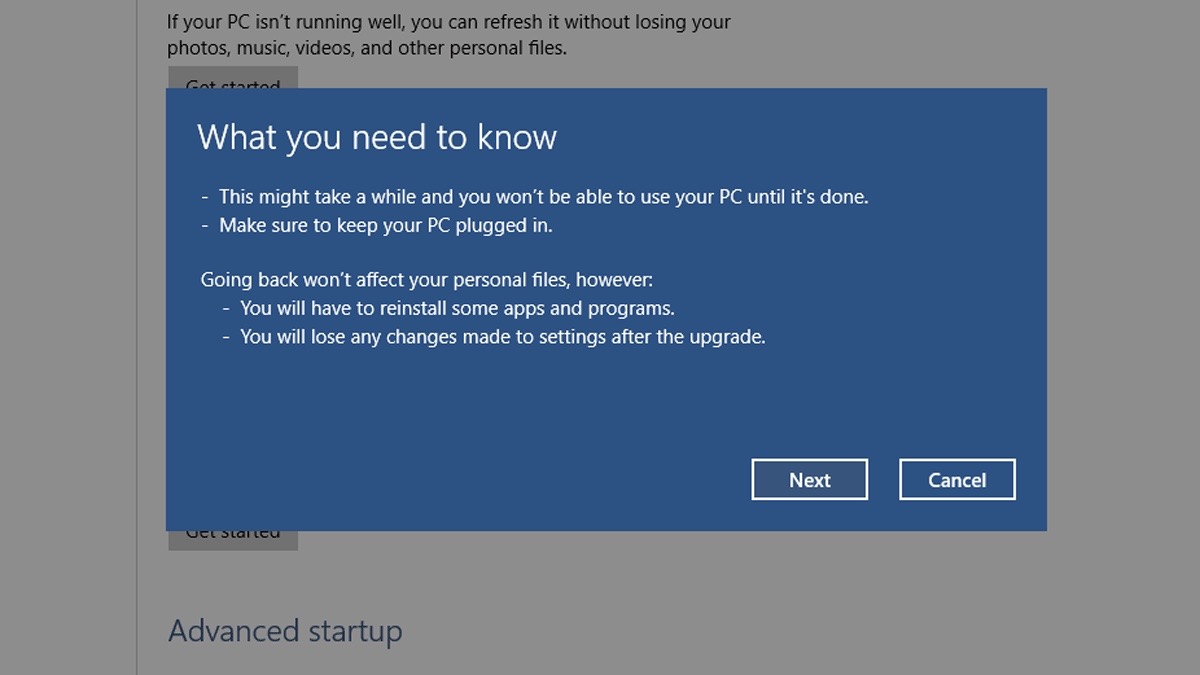
 Be sure to read over the caveats for the roll back. Any system changes you've made in Windows 10 will roll back to the way the system was before you upgraded.
The machine will run through a couple of preparation screens and reboot to a roll back screen. Expect this to take about an hour. When it reboots again you'll need to uninstall the VPN software you're using. The biggest culprit I've found online is the Cisco VPN Client. In my case it was the first VPN client I tried to remove and it failed out stating that it couldn't manage network settings and thus couldn't uninstall the program. I would recommend rolling back to remove any VPN software right now to ensure nothing gets borked with the registry. Once you've got the VPN client(s) uninstalled just re-run the upgrade for Windows 10 and you should be all set. If you run into any snags, let me know in the comments!
